
![]()
![]()
Do-It-Yourself information for the modifications I've completed
![]()
Do-It-Yourself information for essential wear and tear items
![]()
Articles covering all the ways to maintain your car
![]()
All about the BMW 330ci
![]()
Various links that I've found valuable
![]()
A few pictures of my car and some others
UUC Transmission Mount Install
Warning!
The information provided at "Bmw330ci.net" web site is "as is" with all faults and without warranty of any kind, expressed or implied, including those of merchantability and fitness for a particular purpose, or arising from a course of dealing, usage or trade practice. "Bmw330ci.net" web site nor it's owner/creator, can not and does not provide any warranty, expressed or implied, about the accuracy or use of information found on "Bmw330ci.net" web site. The user assumes that risk.
THE USE OF THIS INFORMATION IS FOR YOUR REFERENCE ONLY. BMW330CI.NET AND ITS OWNER/CREATOR DISCLAIM ALL LIABILITY FOR DIRECT, INDIRECT, INCIDENTAL, OR CONSEQUENTIAL DAMAGES OR INJURIES THAT RESULT FROM ANY USE OF THE EXAMPLES, INSTRUCTIONS OR OTHER INFORMATION ON THIS PAGE.
Why upgrade your transmission mounts.
The OEM transmission mounts have a significant ammount of movement in them. This means that when you are shifting under load, shifting isn't very precise. Stiffer mounts allow for better precise shifting, which for any enthusiast is a good thing to have.
Difficulty
This is not really a difficult job and merely involves loosening and tightening a few bolts. It is a little bit harder than changing your oil.
Parts Needed
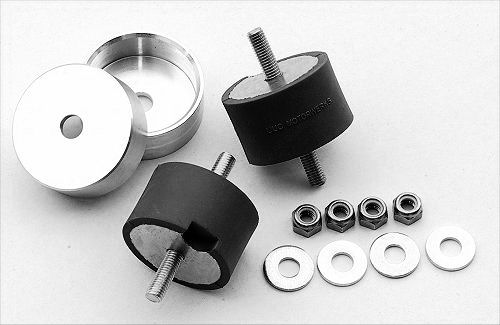
UUC Black Transmission Mounts w/ Transmission Mount Enforcers $70 (This will come with everything you need in order to complete the installation)
Tools Needed
Floor Jack (For supporting the transmission)
Jack Stands (If you are not using a lift)
Micro Torque Wrench (It needs to be able to do 15 ft-lbs accuratley)
13mm sockets and wrenches
Instructions
Safely lift the car
1. Using a lift or a floor jack with jackstands lift the car. Instructions for jacking up your car can be found here. This can be a very dangerous step, so make sure that the car is properly secured before ever getting under it. Never get under a car that is just supported by a jack!
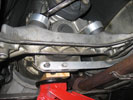 Support the transmission 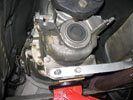 Cross brace removed |
Support the transmission and remove the cross brace |
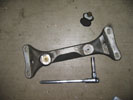 Remove the old mounts 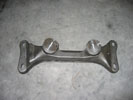 Install the new mounts 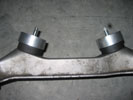 Closeup of the new mounts |
Remove the old transmission mounts and install the new ones |
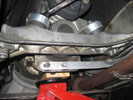 Reinstall transmission cross brace |
Reinstall the transmission cross brace 6. Put the cross brace back and ensure that it is pushed as far towards the front of the car as it will go. 7. Reattach the four 13mm bolts to the frame to secure the cross brace. Tighten the bolts to 16 ft-lbs. DO NOT OVERTIGHTEN or you will get excess vibration in the cabin and noise. 8. Start the nuts on the top of the transmission mounts down, but do not tighten them yet. 9. Lower the floor jack to let the cross brace support the weight of the transmission. 10. Lower your car and take it for a trip around the block. This will allow the transmission to settle properly on the mounts, and will not introduce any pre-load on the bushings (which makes for more cabin noise). 11. Lift the car back up and tighten the nuts on the top of the transmission until they are a little past hand tight. |
Review and Conclusions
After completing the install I can definitly say that this definitly helps how the car shifts. It is much more crisp and gives you more confidence when shifting under load. For the cheap expense, I highly reccomend this modification, and I actually think it should be considered a wear and tear item to replace. Trust me and do this simple and easy modification.
Disclaimer
All product manufacturer logos are property of their respective manufacturer.