
![]()
![]()
Do-It-Yourself information for the modifications I've completed
![]()
Do-It-Yourself information for essential wear and tear items
![]()
Articles covering all the ways to maintain your car
![]()
All about the BMW 330ci
![]()
Various links that I've found valuable
![]()
A few pictures of my car and some others
Changing Your Thermostat
Warning!
The information provided at "Bmw330ci.net" web site is "as is" with all faults and without warranty of any kind, expressed or implied, including those of merchantability and fitness for a particular purpose, or arising from a course of dealing, usage or trade practice. "Bmw330ci.net" web site nor it's owner/creator, can not and does not provide any warranty, expressed or implied, about the accuracy or use of information found on "Bmw330ci.net" web site. The user assumes that risk.
THE USE OF THIS INFORMATION IS FOR YOUR REFERENCE ONLY. BMW330CI.NET AND ITS OWNER/CREATOR DISCLAIM ALL LIABILITY FOR DIRECT, INDIRECT, INCIDENTAL, OR CONSEQUENTIAL DAMAGES OR INJURIES THAT RESULT FROM ANY USE OF THE EXAMPLES, INSTRUCTIONS OR OTHER INFORMATION ON THIS PAGE.
Difficulty
This isn't a difficult job, but can get a little messy with the coolant. I chose not to drain the coolant like recommended since I needed to fix the thermostat before it went bad without spending a lot of time. This shouldn't take more than 2 hours with the coolant swap as well. If you have an automatic transmission, the removal of the fan will be different, please reference some other material for removal.
How do you know your thermostat is going bad?
If the temperature gauge in your car is no longer staying exactly half way or is taking a long time to heat up when first driving, most likely the problem is the thermostat. It isn't very hard to change, and unfortunately they just don't last. I've heard of them going anywhere from 60-100k miles. My advice is to change it out as preventative maintenance during a normal coolant change (every 4 years or so). Save yourself some money and do it yourself!
Parts Needed
BMW OEM Thermostat (BMW P# 11-53-7-509-227) $60
Tools Needed
Various Sockets
Screwdriver
T25 Torx Socket
Microtorque Wrench (Capable of going from 5-25 ft-lbs is a good)
Buckets etc. to drain and refill coolant
Instructions
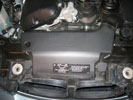 Remove plastic rivets 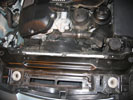 Intake tubing removed |
Remove intake ducting |
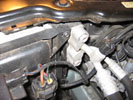 Remove the electrical connections and the torx screw 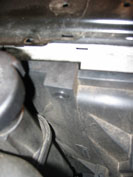 Loosen the rivet 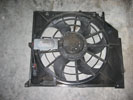 Remove the radiator fan |
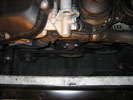 The thermostat 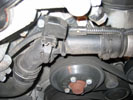 Remove the electrical connections from the thermostat 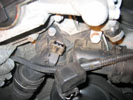 Remove the bolts on the thermostat |
Remove the wire on the thermostat |
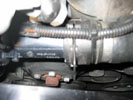 Loosen the radiator hose clips 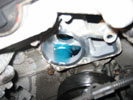 The thermostat removed 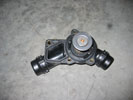 The new thermostat 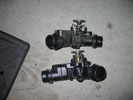 The old thermostat on top and the new on bottom |
Remove the thermostat and install the new one |
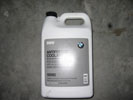 Refill and bleed your coolant system with BMW coolant |
Properly refill and bleed your coolant system |
Conclusions
It's a pretty simple job and you no longer have to be worried about the car overheating. Drive around knowing that you saved a few bucks and your engine is safe.
Disclaimer
All product manufacturer logos are property of their respective manufacturer.