
![]()
![]()
Do-It-Yourself information for the modifications I've completed
![]()
Do-It-Yourself information for essential wear and tear items
![]()
Articles covering all the ways to maintain your car
![]()
All about the BMW 330ci
![]()
Various links that I've found valuable
![]()
A few pictures of my car and some others
OEM Aluminum Pedals and M3 Dead Pedal Install
Warning!
The information provided at "Bmw330ci.net" web site is "as is" with all faults and without warranty of any kind, expressed or implied, including those of merchantability and fitness for a particular purpose, or arising from a course of dealing, usage or trade practice. "Bmw330ci.net" web site nor it's owner/creator, can not and does not provide any warranty, expressed or implied, about the accuracy or use of information found on "Bmw330ci.net" web site. The user assumes that risk.
THE USE OF THIS INFORMATION IS FOR YOUR REFERENCE ONLY. BMW330CI.NET AND ITS OWNER/CREATOR DISCLAIM ALL LIABILITY FOR DIRECT, INDIRECT, INCIDENTAL, OR CONSEQUENTIAL DAMAGES OR INJURIES THAT RESULT FROM ANY USE OF THE EXAMPLES, INSTRUCTIONS OR OTHER INFORMATION ON THIS PAGE.
Why change your pedals?
There really isn't that good of a reason, but I must say they look great! It really adds something to the interior of your car. You can check out the before and after photos to get a good idea of how things look when you're finished.
Before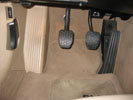 |
After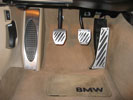 |
Difficulty
This is not really a difficult job and if you're handy with a drill you can complete this DIY pretty easily, as long as you have some good drill bits!
Parts Needed
(Choose you're interior color for the coupe's dead pedal. Note I didn't get the normal aluminum dead pedal kit because it involves drilling and the fact that the M3 dead pedal is cheaper! Go figure! Note: These are part numbers for the coupe only!)
Beige BMW OEM M3 Dead Pedal (BMW P# 51-43-7-894-624 ) $49
Black BMW OEM M3 Dead Pedal (BMW P# 51-43-2-695-411 ) $49
Gray BMW OEM M3 Dead Pedal (BMW P# 51-43-7-894-565 ) $49
BMW OEM Aluminum Pedal Kit (BMW P# 35-00-0-304-642) $64
Tools Needed
Drill
5/32" Metal Drill Bit
Clamp
T15 Torx Socket (Or equivalent)
7mm Wrench
Phillips Screw Driver
Aluminum Pedal Instructions
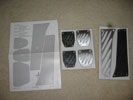 The aluminum pedal kit 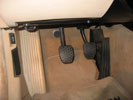 Remove the old pedal covers |
Prepare the new pedals and Remove the pedal covers |
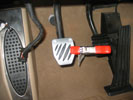 Clamp the new pedal on for drilling 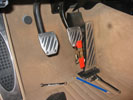 Finish drilling your last holes |
Clamp, drill, and bolt on the aluminum pedal covers |
M3 Dead Pedal Instructions
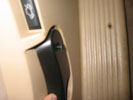 Loosen the screw 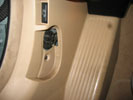 Remove the latch and loosen the second screw |
Remove the hood opening latch |
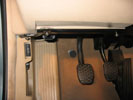 Remove the bottom dash cover 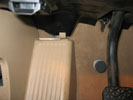 Let the top clip out |
Remove the bottom dash cover |
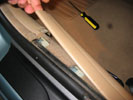 Pop up the trim 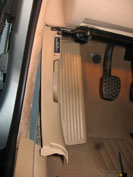 Slide the dead pedal out |
Pop up the door sill trim and slide the dead pedal out |
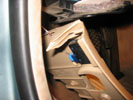 Undo the trunk release wire 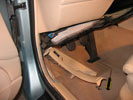 Wiggle the dead pedal all the way out |
Remove the dead pedal and disconnect the trunk release switch |
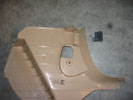 Remove the trunk release switch 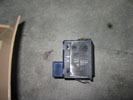 Closeup of the clips on the trunk release switch  The finished product |
Remove the trunk release switch and reinstall the new dead pedal |
Review and Conclusions
It looks and feels great, not to mention the fact that it's pretty cheap. I highly recommend you do this modification to add that extra bit of look and pleasure to the driving experience! You won't regret it whether you're looking inside the drivers side window or sitting down to go out for a spin!
Disclaimer
All product manufacturer logos are property of their respective manufacturer.