
![]()
![]()
Do-It-Yourself information for the modifications I've completed
![]()
Do-It-Yourself information for essential wear and tear items
![]()
Articles covering all the ways to maintain your car
![]()
All about the BMW 330ci
![]()
Various links that I've found valuable
![]()
A few pictures of my car and some others
Changing Your Windshield Washer Pump
Warning!
The information provided at "Bmw330ci.net" web site is "as is" with all faults and without warranty of any kind, expressed or implied, including those of merchantability and fitness for a particular purpose, or arising from a course of dealing, usage or trade practice. "Bmw330ci.net" web site nor it's owner/creator, can not and does not provide any warranty, expressed or implied, about the accuracy or use of information found on "Bmw330ci.net" web site. The user assumes that risk.
THE USE OF THIS INFORMATION IS FOR YOUR REFERENCE ONLY. BMW330CI.NET AND ITS OWNER/CREATOR DISCLAIM ALL LIABILITY FOR DIRECT, INDIRECT, INCIDENTAL, OR CONSEQUENTIAL DAMAGES OR INJURIES THAT RESULT FROM ANY USE OF THE EXAMPLES, INSTRUCTIONS OR OTHER INFORMATION ON THIS PAGE.
Diagnosis
The symptoms of needing to replace your windshield washer pump are quite simple. The washer tank will empty of the course of a few days. This will cause the light on your dash to keep lighting up, which is quite annoying. When you go to use the pump it will make a little noise and won't be very powerful. Since the pump is pretty cheap and is easy, I recommend changing it.
Difficulty
Changing your windshield washer pump is probably one of the easiest DIYs I've done yet. Since it had already leaked almost all of the coolant out I didn't even have to worry about draining it out. It only requires a wrench, a screwdriver, and a few minutes. This is definitely one you shouldn't pay someone to do.
Tools Needed
10mm Wrench
Small Flathead Screwdriver
Parts Needed
Windshield Washer Pump(BMW P# 67-12-8-362-154) $33
Windshield Washer Pump Gasket (BMW P# 61-66-7-006-063) $2
Instructions
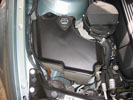 Locate the washer tank |
Locate the windshield washer tank and unbolt it |
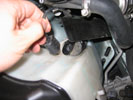 Unplug the pump connector 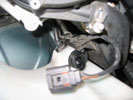 Disconnect the pump discharge |
Unplug the windshield washer pump power connection and pump discharge |
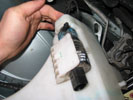 Remove the pump 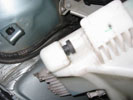 Remove the gasket 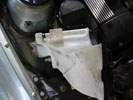 A better look at what is going on |
Remove the washer pump and gasket |
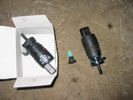 Get out the new pump 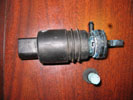 The old pump |
Install the new pump and gasket |
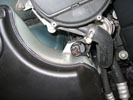 Put everything back together 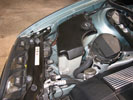 Finished product 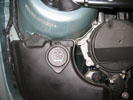 Finished Product |
Reconnect the pump and put it all back together |
Conclusions
This is a simple do-it-yourself job and will stop your washer tank from leaking. After putting it all back together take a ride, refill your windshield washer tank, and wash your windshield a few times!
Disclaimer
All product manufacturer logos are property of their respective manufacturer.